

Schedule Manager lets you automate repetitive tasks on your Minecraft server. Whether you want to restart your server every night, create automatic backups, run commands, or send Discord notifications, schedules help keep your server running smoothly without manual intervention. This guide explains how to create schedules and add automated tasks.
Step 1: Open Your Server
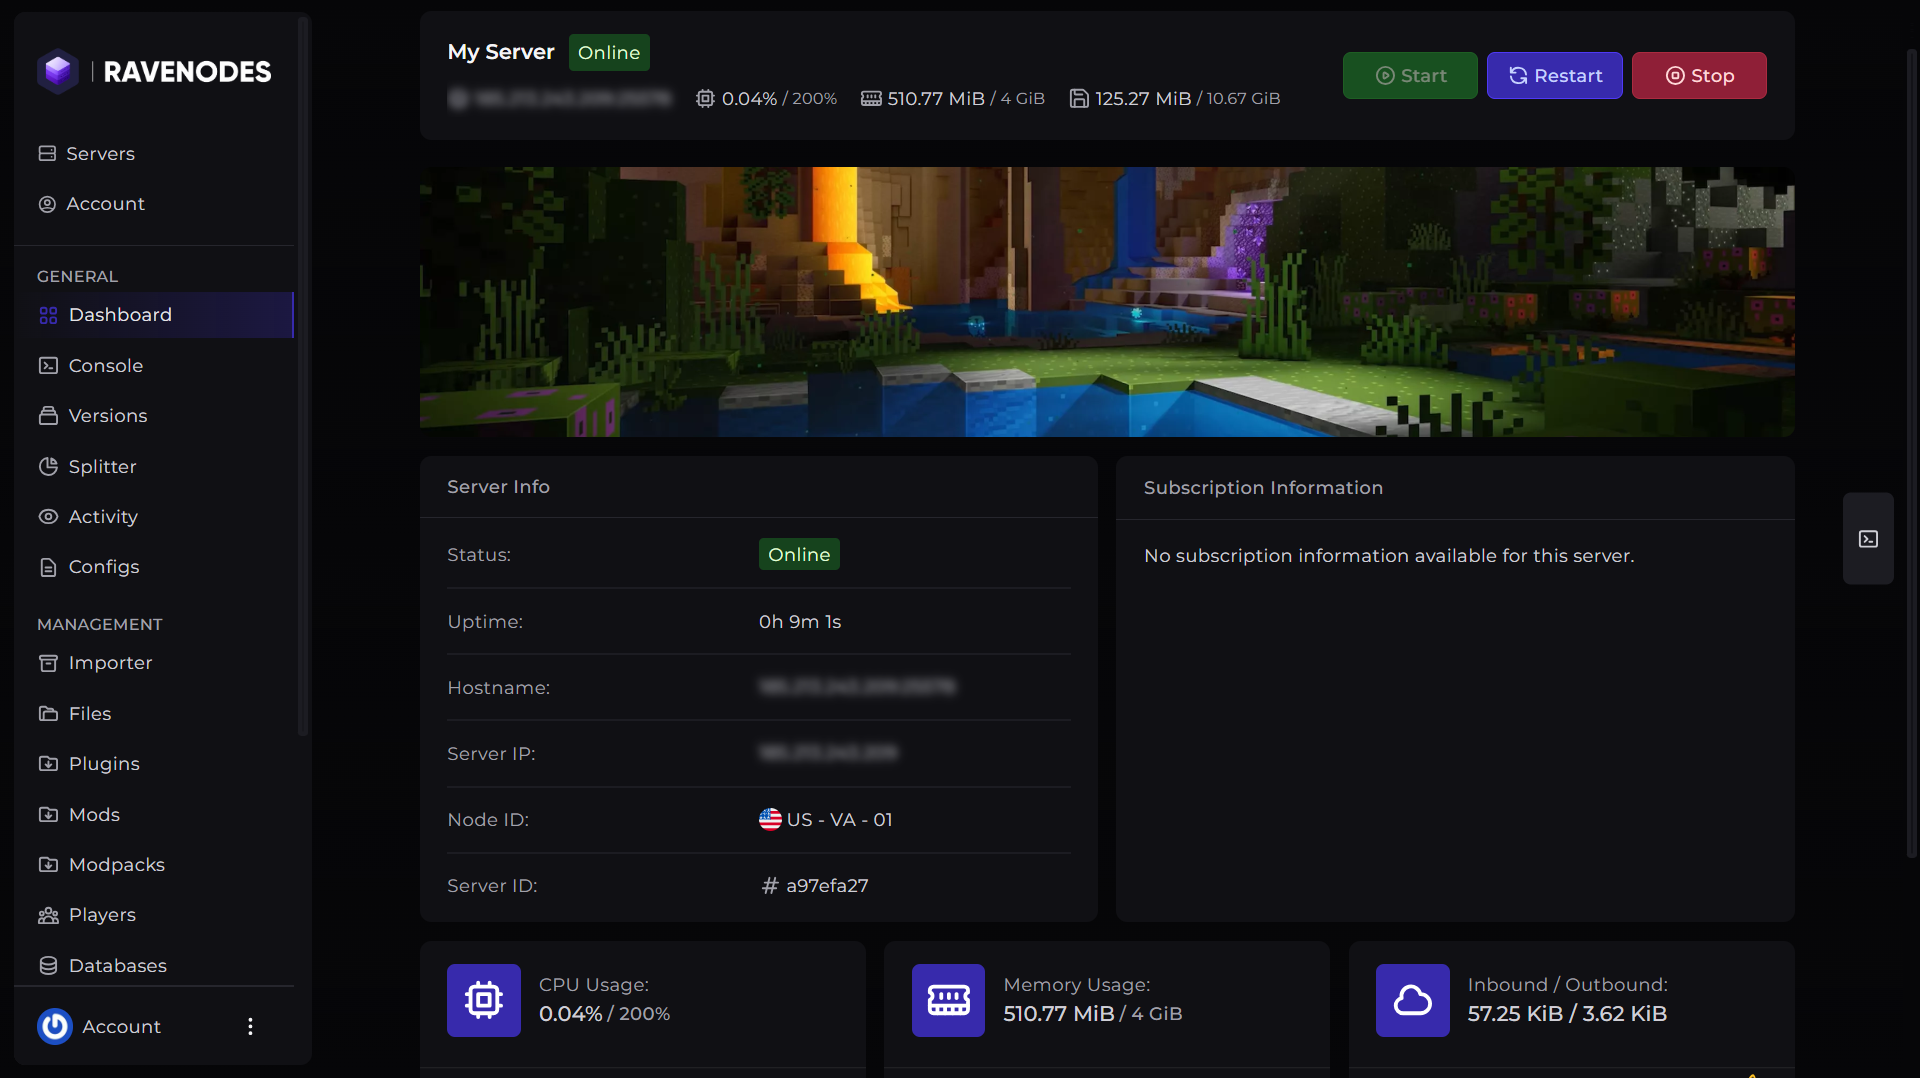
Log in to our Game Panel and head to the Minecraft server you want to modify.
Step 2: Open the Schedules Section
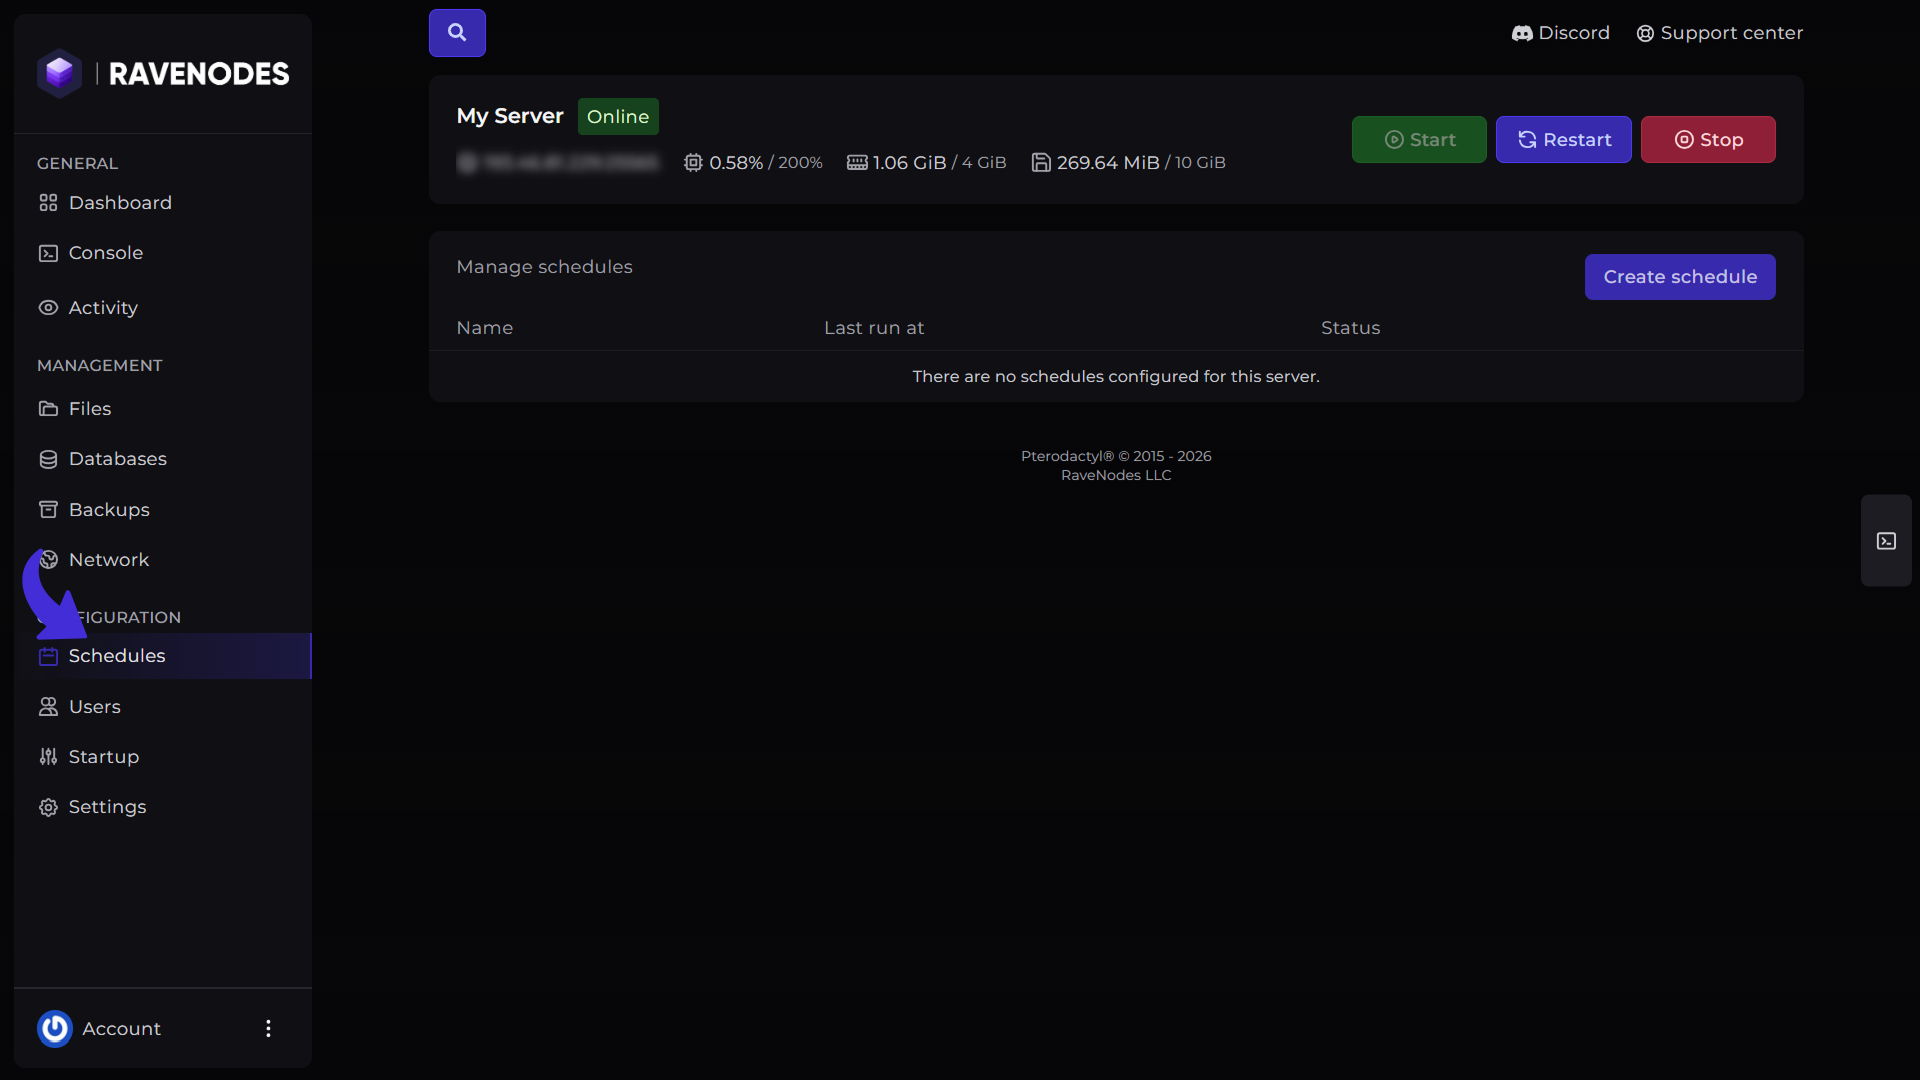
From the server navigation menu, click Schedules. Here you'll see all of your existing schedules and the option to create new ones.
Creating a Schedule
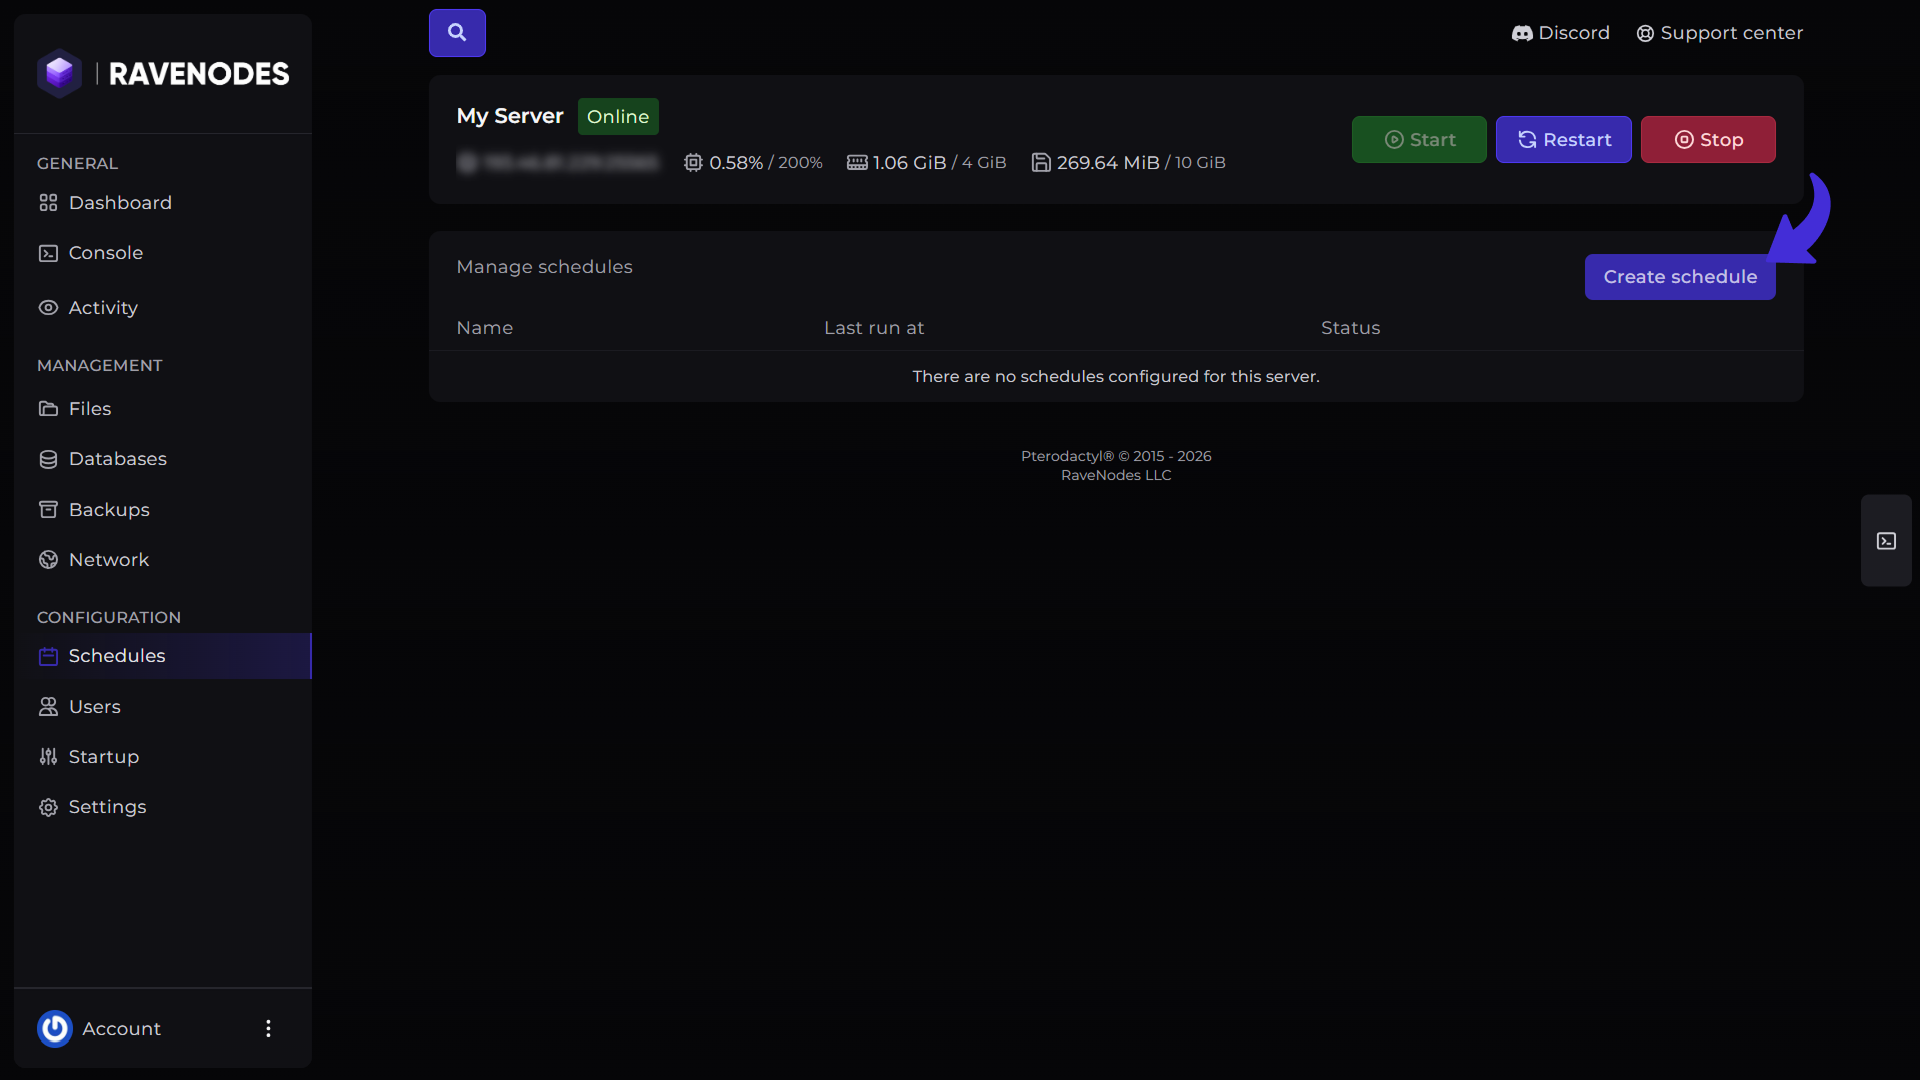
Click Create Schedule to begin.
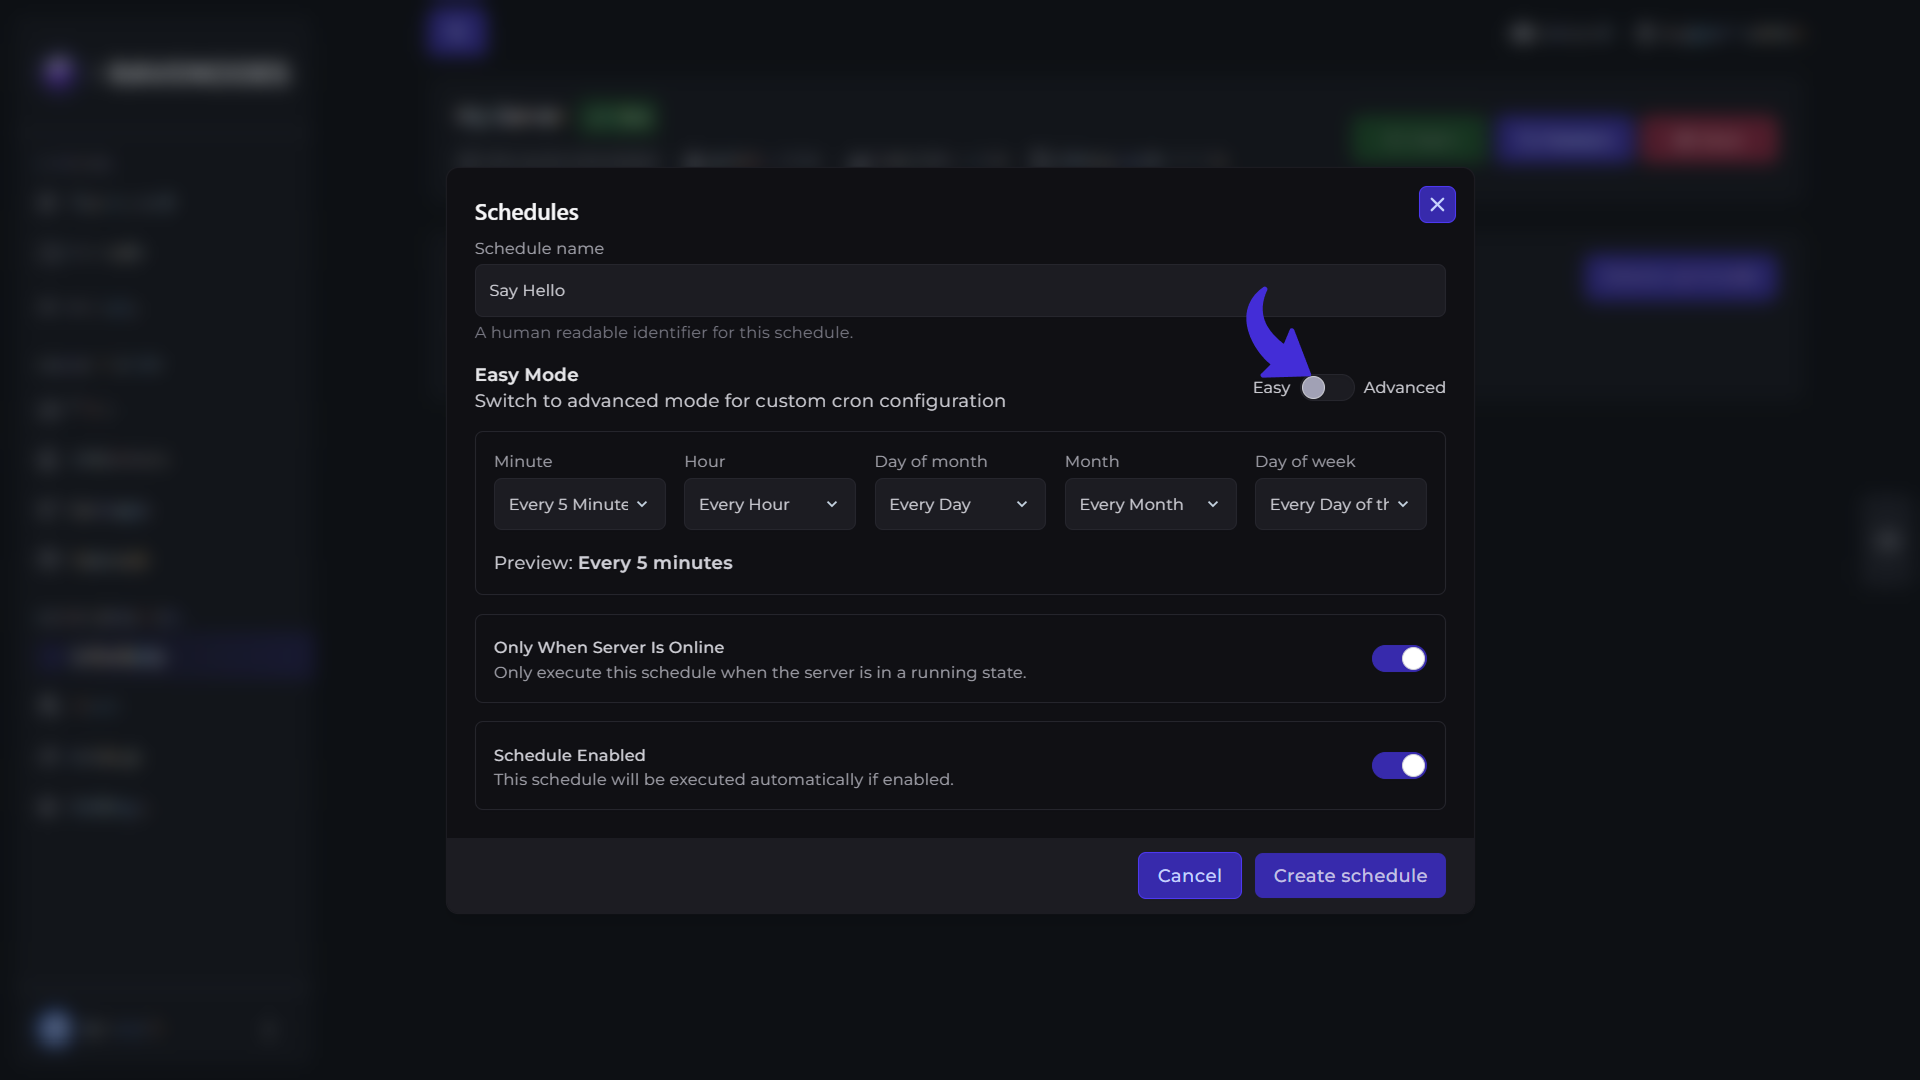
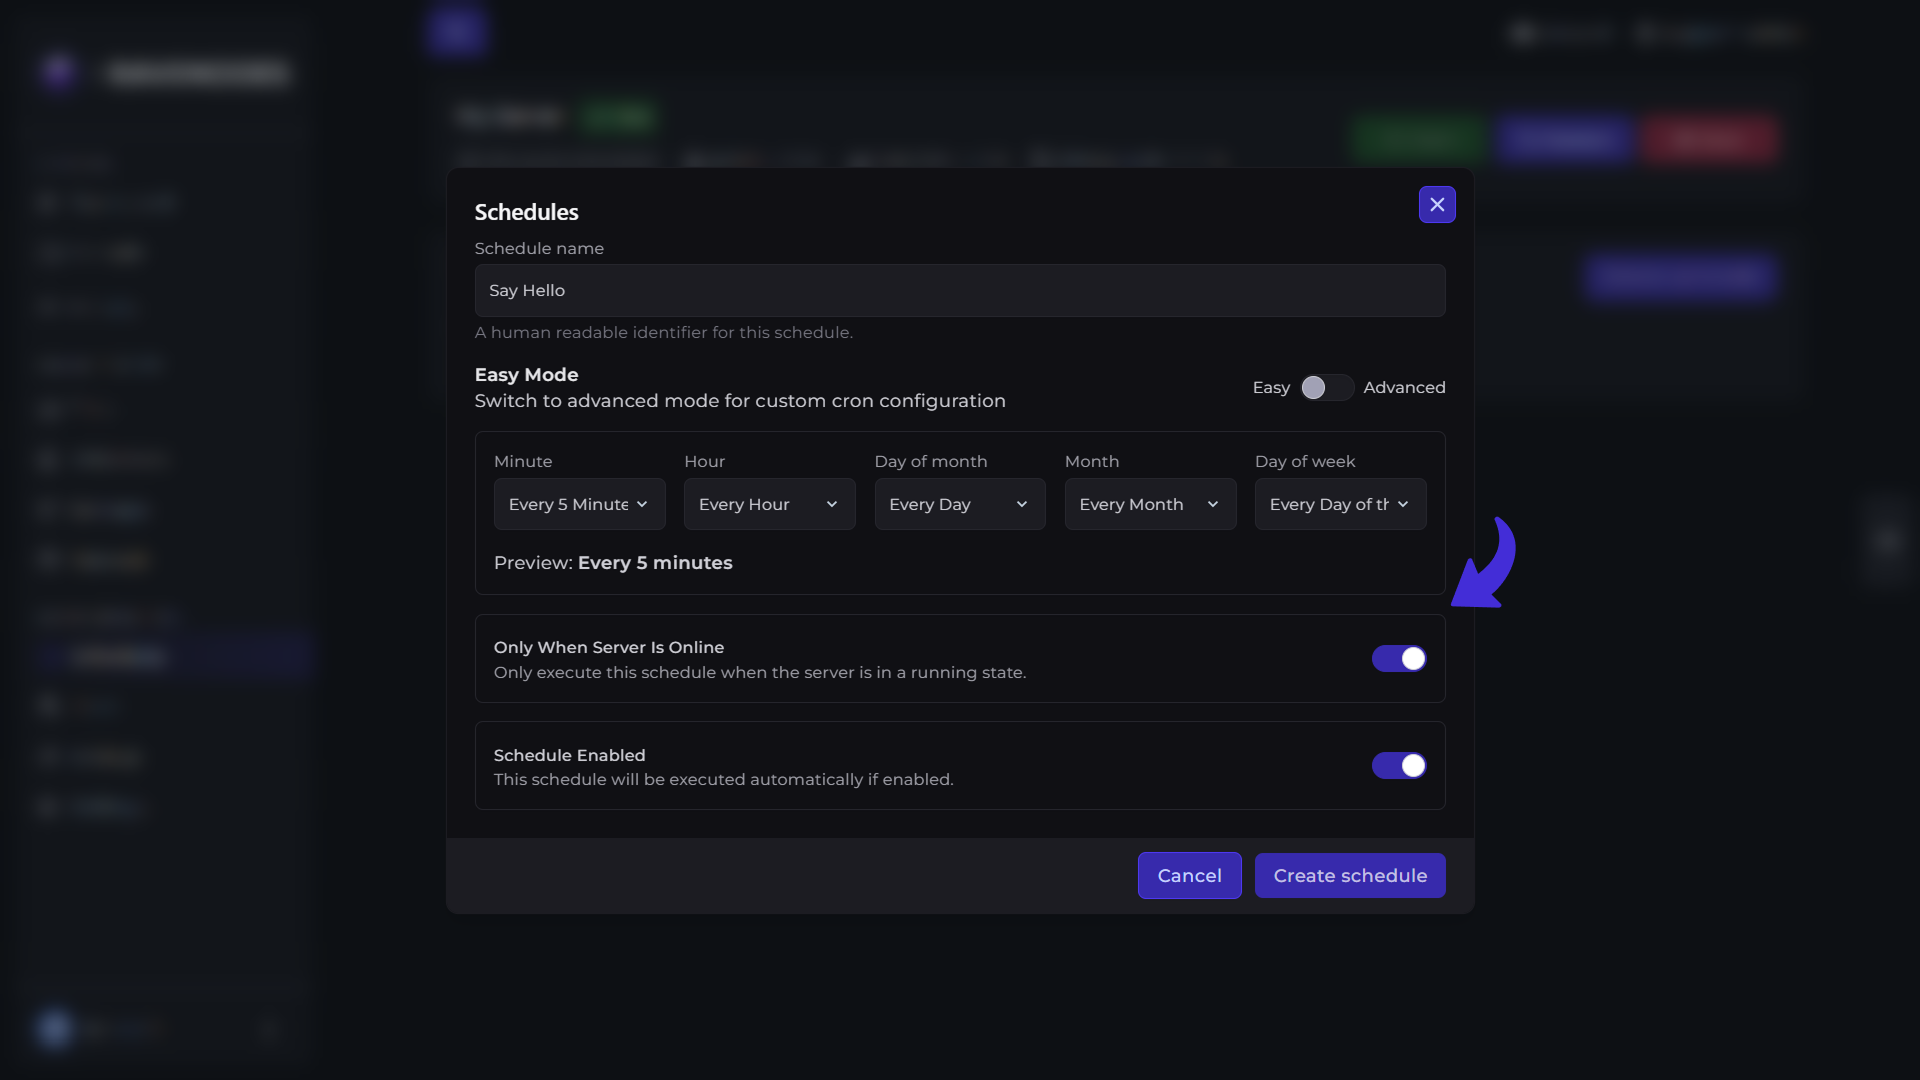
You'll be asked to enter:
-
Schedule Name
-
Schedule Mode
You can choose between two scheduling modes:
Easy Mode
Easy Mode allows you to configure a schedule using simple dropdowns.
Choose:
-
Minute
-
Hour
-
Day of Week
-
Month
-
Day of Month
This is the easiest option for most users.
Advanced Mode
Advanced Mode lets you enter a Cron Expression for complete scheduling flexibility.
This mode is recommended for users who are familiar with cron syntax.
You'll also see two additional options:
-
Only Run When Server Is Online – Executes the schedule only if your server is currently running.
-
Schedule Enabled – Enables or disables the schedule without deleting it.
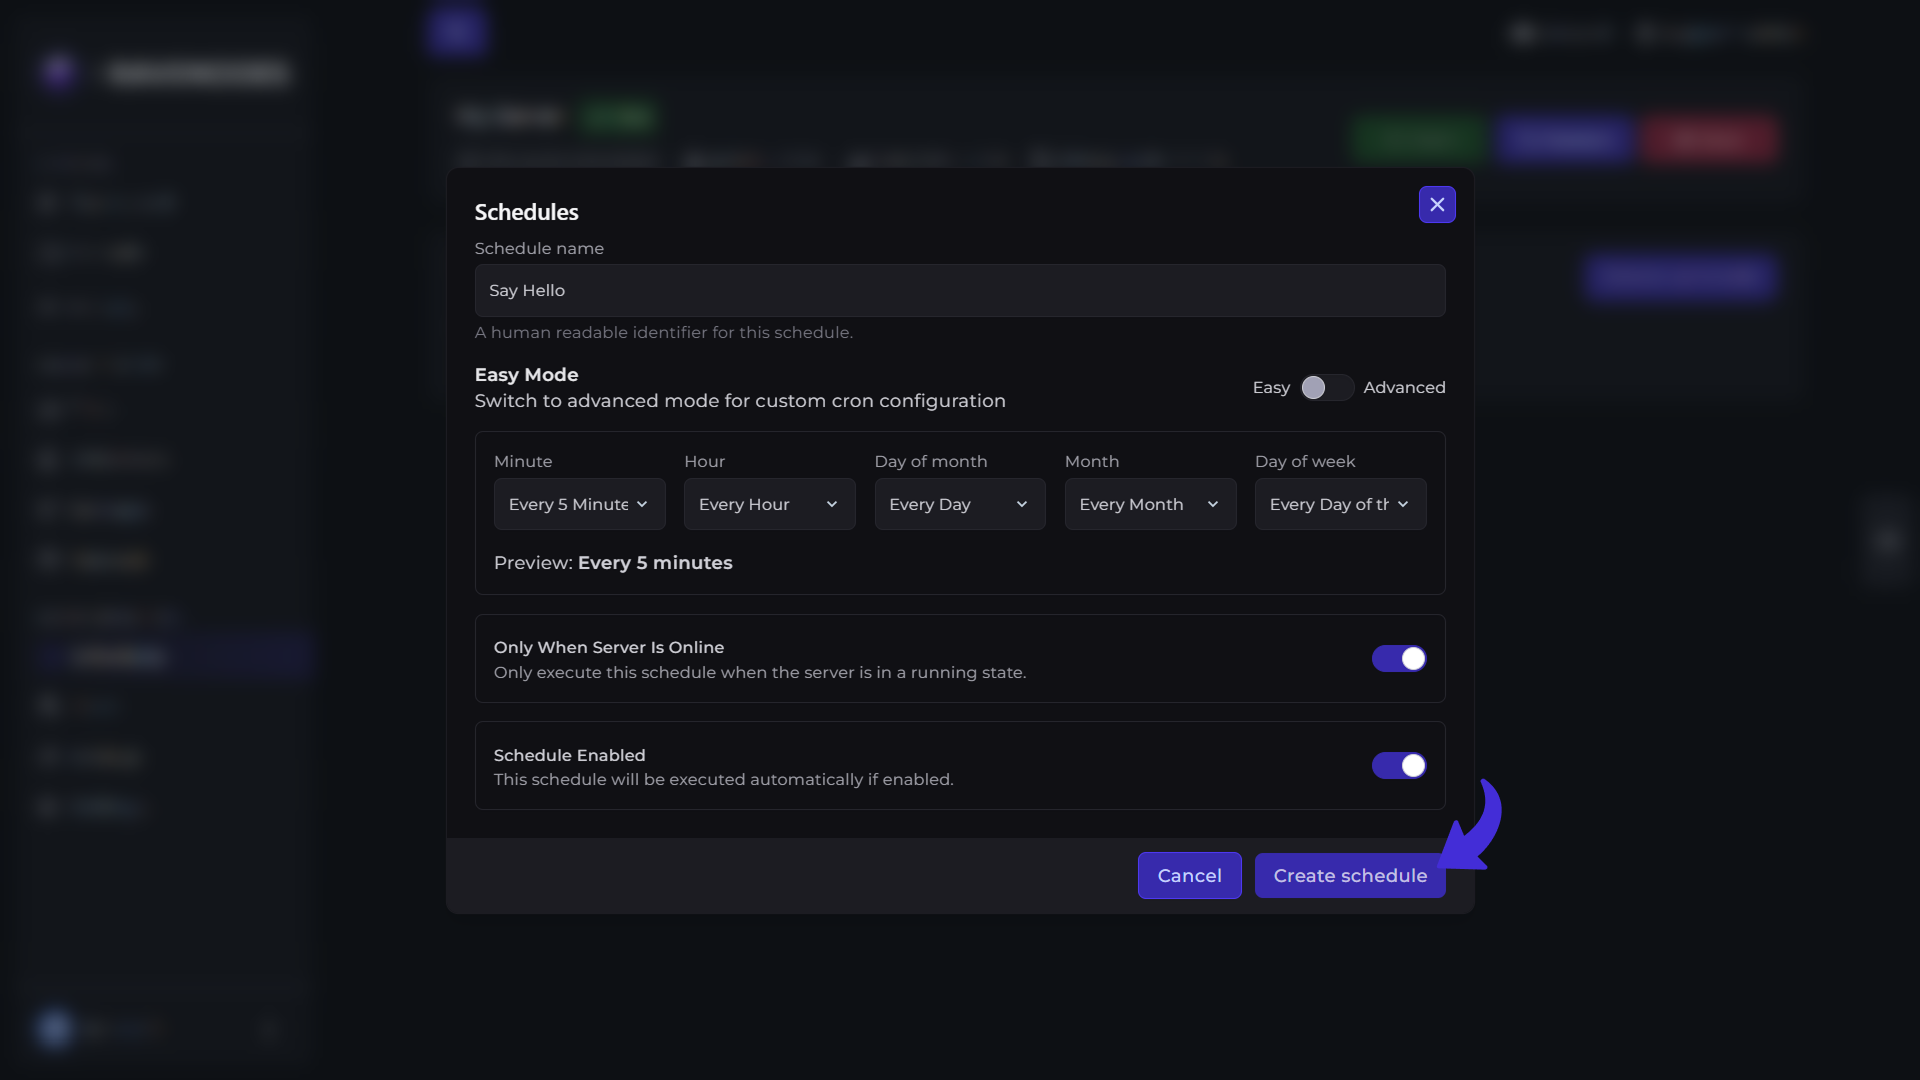
After configuring your schedule, click Create Schedule.
Managing a Schedule
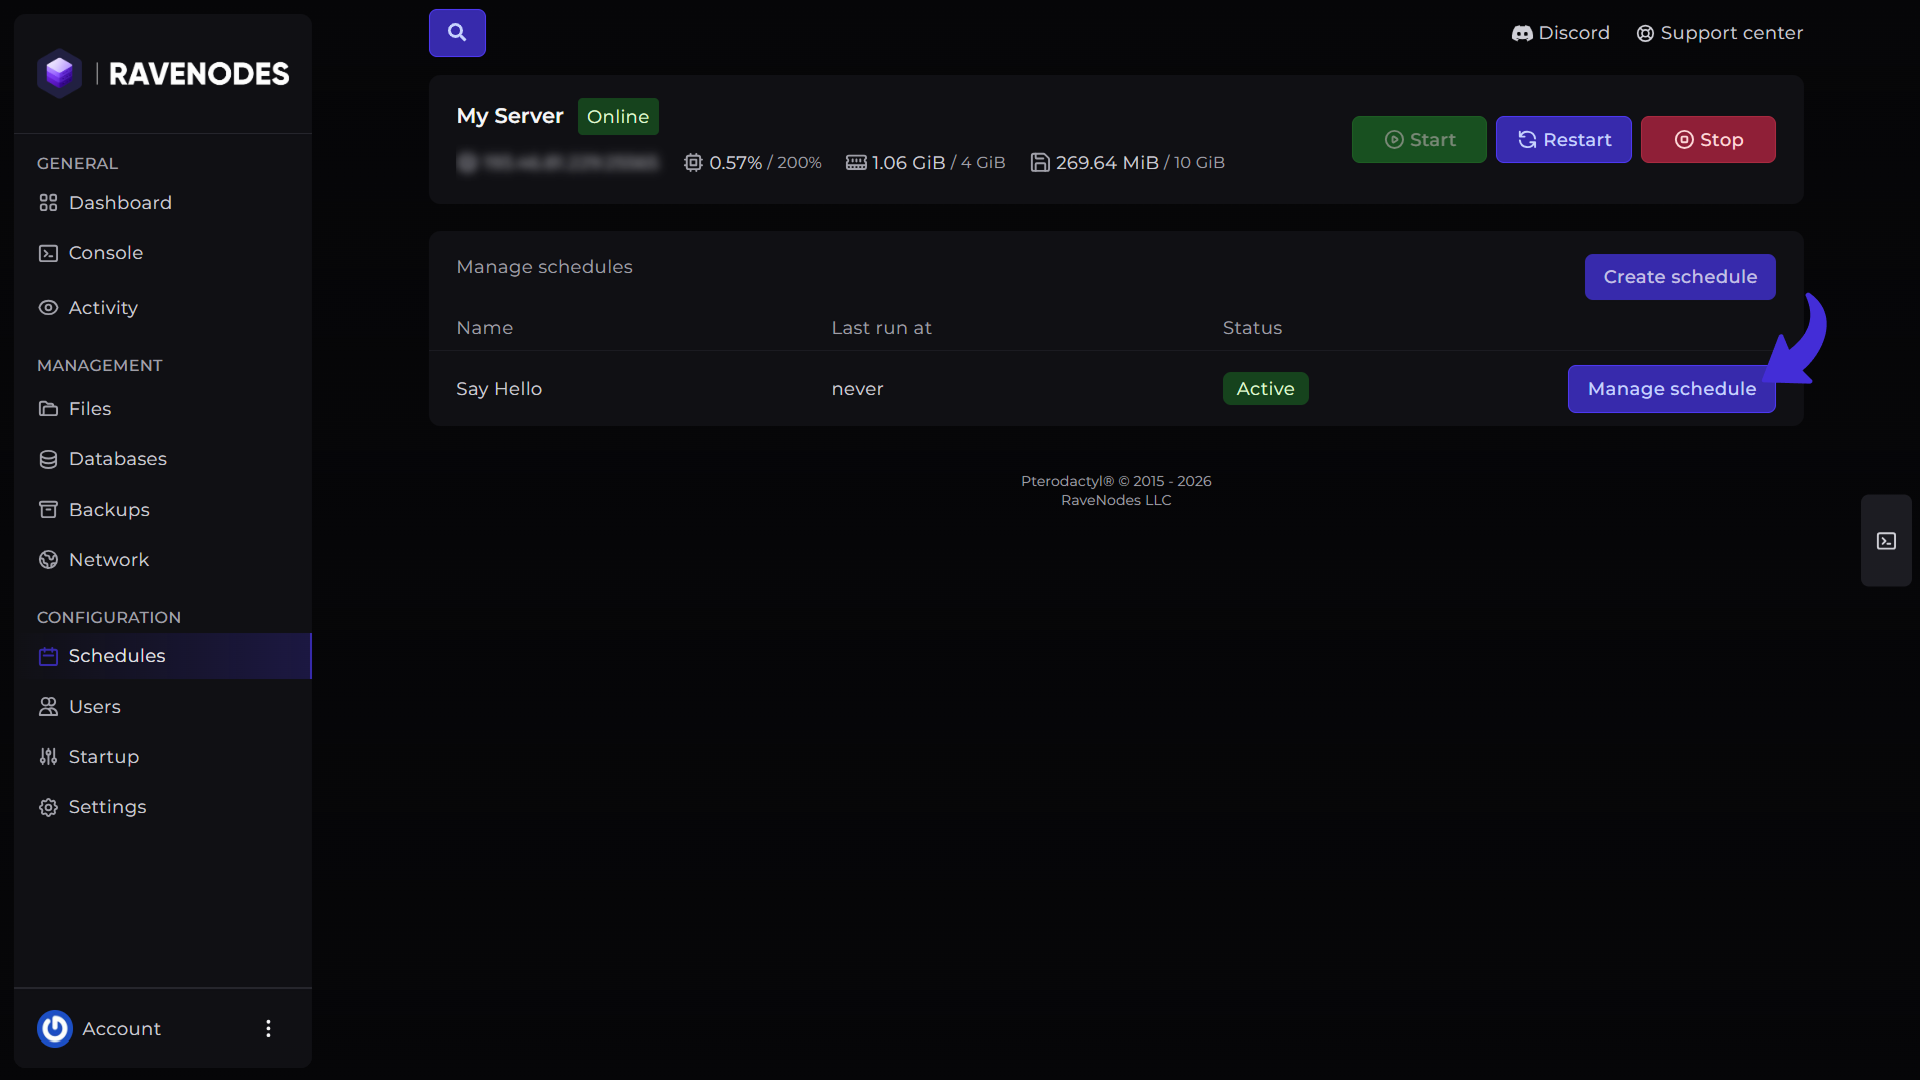
Once a schedule has been created, click Manage Schedule.
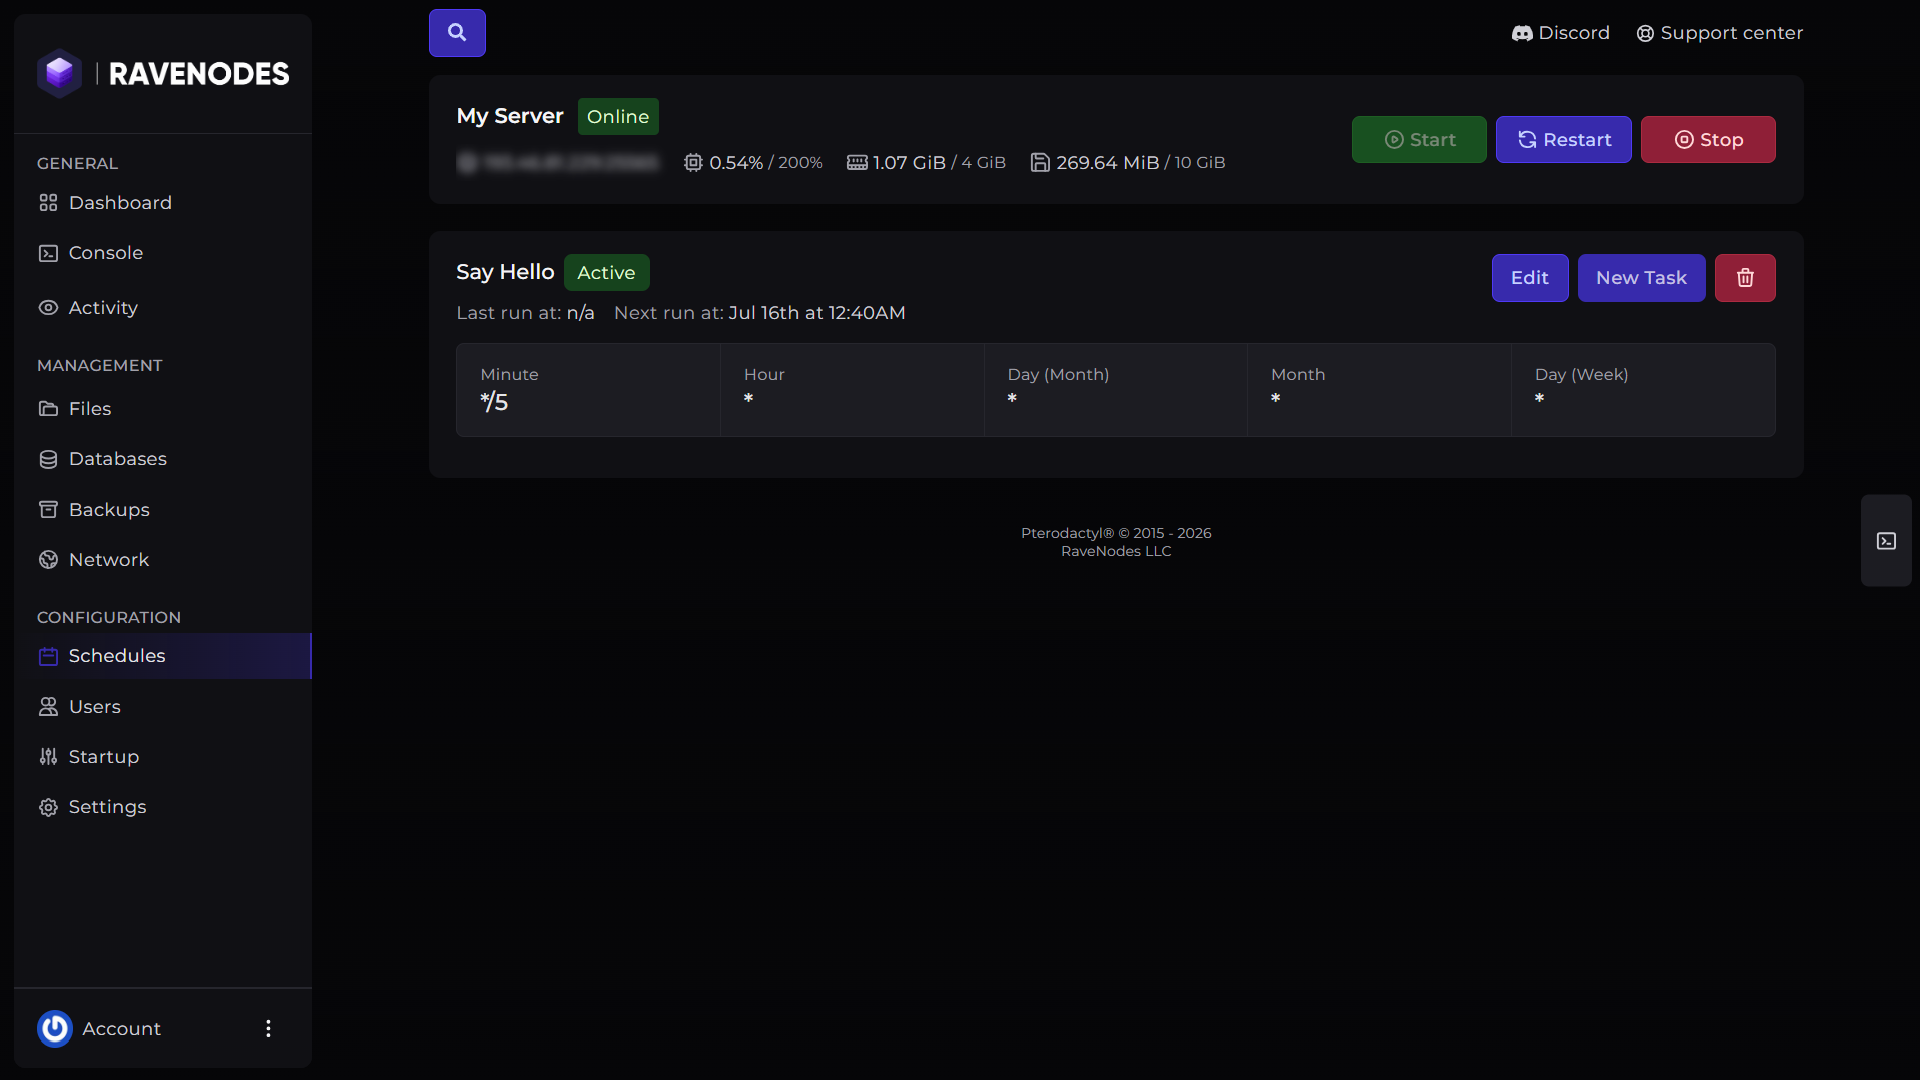
From here you can:
-
Edit the schedule.
-
Create New Tasks.
-
Delete the schedule.
Selecting Edit allows you to modify the schedule's timing and other settings.
Creating a Task
Schedules become useful by adding one or more tasks.
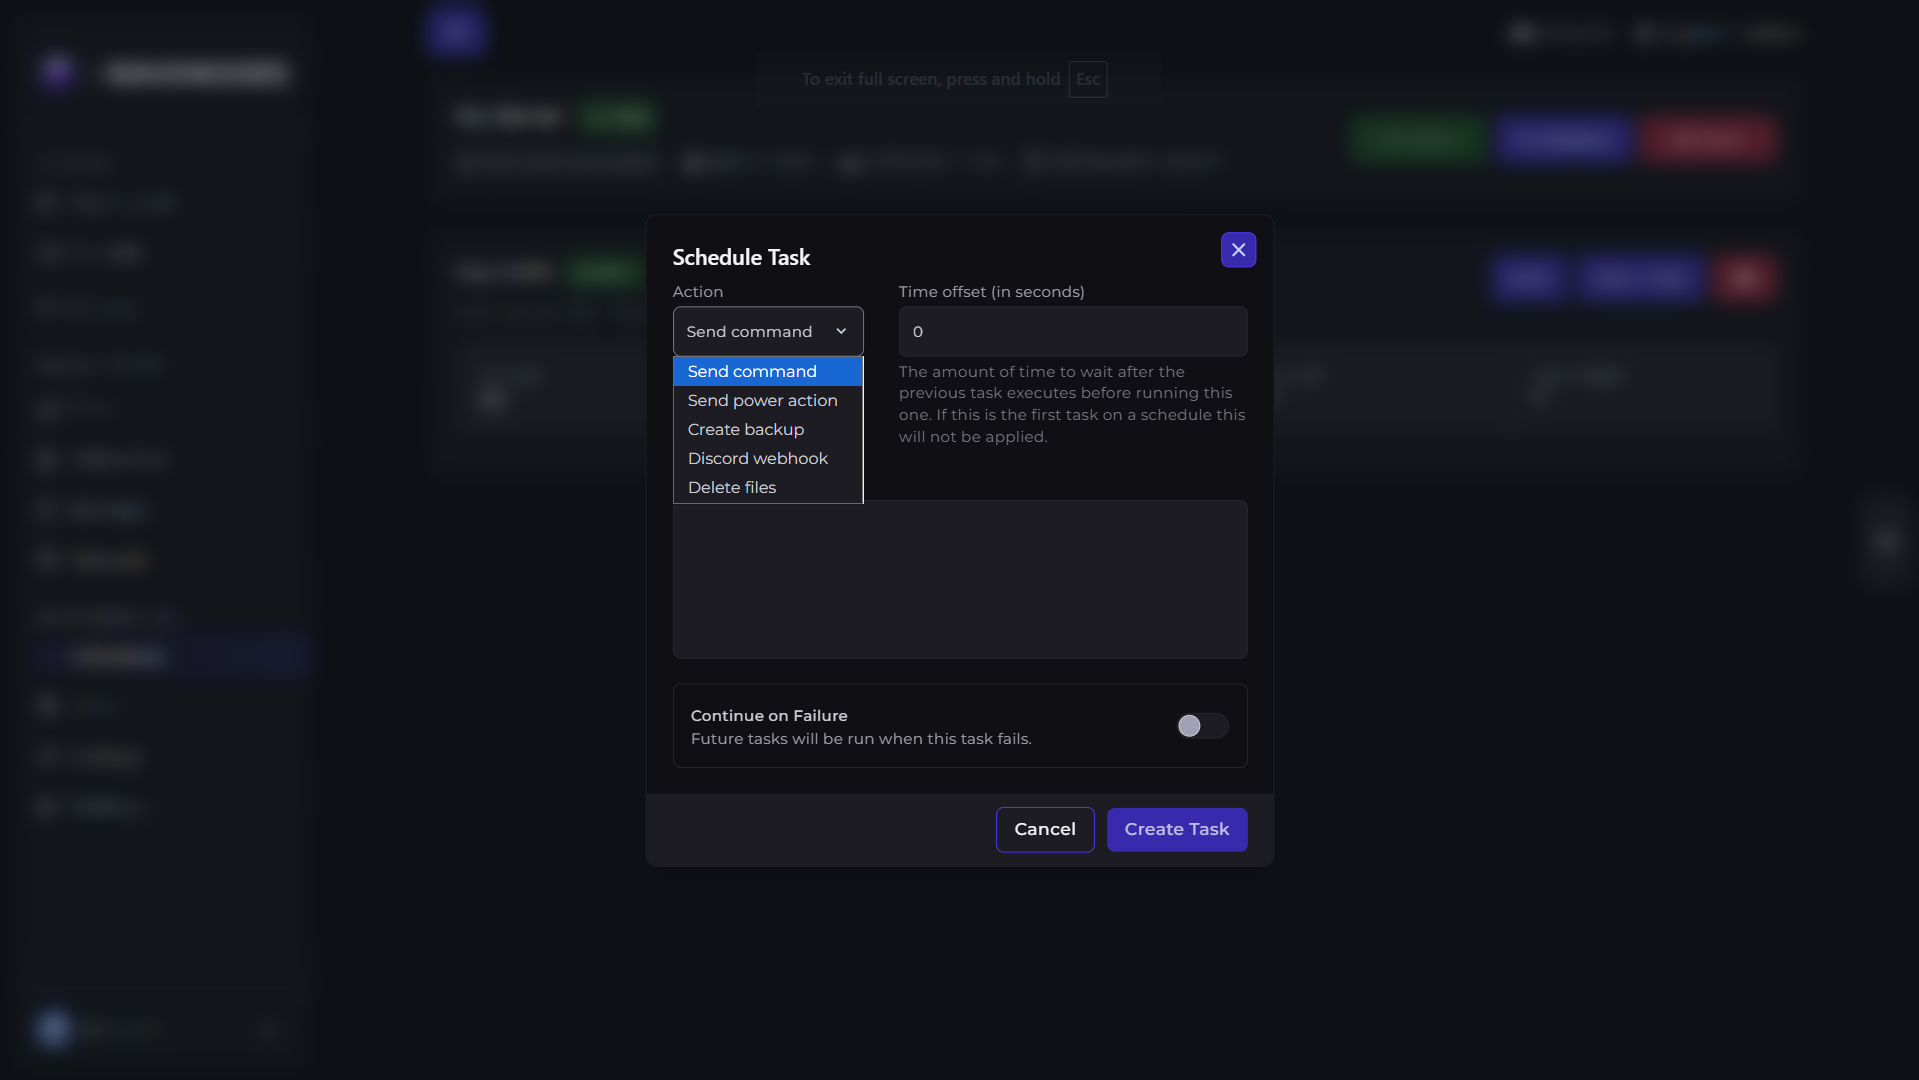
Click New Task to create a task for the schedule.
First, choose the task type.
Available task types include:
-
Send Command
-
Send Power Action
-
Create Backup
-
Discord Webhook
-
Delete Files
Next, configure the task options:
-
Time Offset (Seconds) – Delays the task after the schedule starts.
-
Payload – The command, action, webhook URL, or other data required for the selected task.
-
Continue on Failure – If enabled, the schedule will continue executing remaining tasks even if this task fails.
Once you've finished configuring the task, click Create Task.
Your task will now run automatically whenever the schedule is triggered.
Tips
-
Use Easy Mode for common schedules and Advanced Mode if you need custom cron expressions.
-
Test your schedules before relying on them for important server operations.
-
Use Time Offsets to control the order of multiple tasks.
-
Enable Continue on Failure if you don't want one failed task to stop the rest of the schedule.
-
Keep automated backups in your schedule before major maintenance or restarts.
Need Help?
If you encounter any issues, our support team is here to help. Open a support ticket through the Client Area, and we'll be happy to assist you.