

How to Upload a Minecraft World
If you already have a Minecraft world saved on your computer and want to use it on your server, you can upload it through your server's file manager.
1. Find Your World Folder
Locate the world you want to upload on your computer.
For Java Edition, your single-player worlds are usually located in:
%appdata%\.minecraft\saves
Each folder inside saves represents a Minecraft world.
Tip: Make sure you upload the actual world folder containing files such as
level.dat.
2. Stop Your Server
Before uploading the world, stop your Minecraft server from your hosting panel.
This prevents the server from modifying files while you are uploading them.
3. Upload the World
Open your server's File Manager and navigate to the server's main directory.
Upload your world folder.
If your world is compressed as a .zip file, upload the ZIP instead and use the Extract option provided by your hosting panel.
4. Set the World Name
After uploading and extracting the world, open:
server.properties
Find:
level-name=world
Change world to the exact name of your uploaded world folder.
For example:
level-name=MyWorld
Make sure the name matches the folder name exactly.
5. Start Your Server
Start the server again and wait for it to finish loading.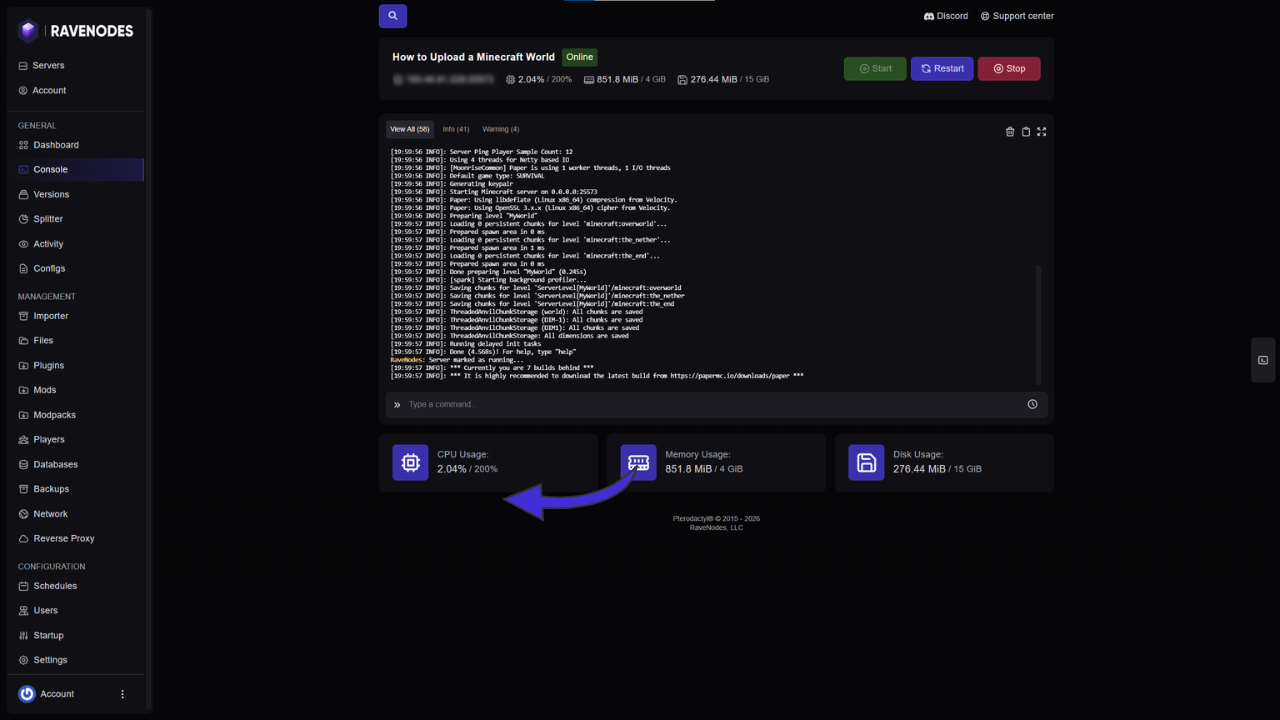
Your server should now load the uploaded world instead of generating a new one.
If the Server Generates a New World
Check the following:
-
The world folder is in the server's main directory.
-
level-namematches the folder name exactly. -
The world contains
level.dat. -
The server was stopped before uploading.
-
The world is compatible with your server version.
Important: Always create a backup of your existing world before replacing it.